The default editing mode for everyone on the wiki is visual editing mode. When making some types of edits using the visual mode might introduce errors along with your edit to the page.
Source mode allows you to see all of the wikicode on a page and to edit this directly. If you want to make a more complex edit you should switch to the source mode in the VisualEditor.
Switching editors
You will have options to use both visual and source mode at the top right of the page in edit mode. After you opened the VisualEditor you can do this to switch to source mode editing.

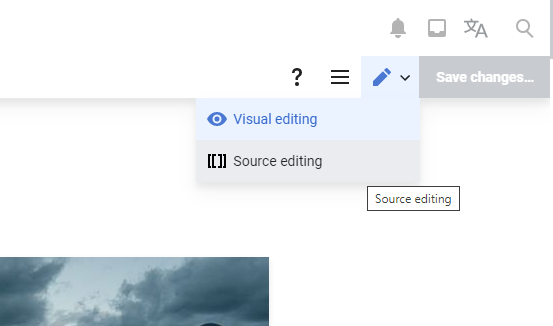
After that you will be loaded into source mode, the interface will be the same as the visual mode except that now the content of the page have turn into wikitext.
Basics in Source mode
This portion of the guide will cover how to perform the same functions mentioned in Star Citizen:Editing/VisualEditor basics using source mode. The same policies and guidelines for usage apply when using source mode.
Bold and italics
Bold is added by placing '''triple apostrophes''' around the text and italics are added by putting ''double apostrophes'' around the text.
This can be done manually, using the apostrophe key of your keyboard, or by using the bold or italic buttons of the source mode editor. Click the icons to add bold/italics while the text you want to add the effect to is selected.
Headings
Headings are added by putting == == around your section title. Further sub-headings can be added be adding more equals signs. E.g:
== Heading 1 ==
=== Sub-heading 1 ===
==== Another section ====
=== Sub-heading 2 ===
== Heading 2 ==
Try not to overuse headings: having too many can make it hard to navigate the contents of a page. An alternative can be to bold the text which creates a section which does not appear in the contents. E.g:
'''Heading'''
Gives
Heading
Alternatively, you can use the {{TOC}} template to limit what heading will be shown in the table of content.
Lists
Numbered lists are added by putting # before each item on the list. Each point should begin on a new line. E.g:
# First point
# Second point
Gives:
- First point
- Second point
Bullet pointed lists are added with *:
* First point
* Second point
Makes:
- First point
- Second point
You can also make sublists within lists:
# First point
## One more thing
## Another thing
# Second point
Gives:
- First point
- One more thing
- Another thing
- Second point
* First point
** One more thing
** Another thing
* Second point
Makes:
- First point
- One more thing
- Another thing
- Second point
Links
- To add a link simply place [[ ]] around the name of the page you wish to link to. This can either be done by adding these manually or with the link button. E.g. [[Carrack]] creates Carrack.

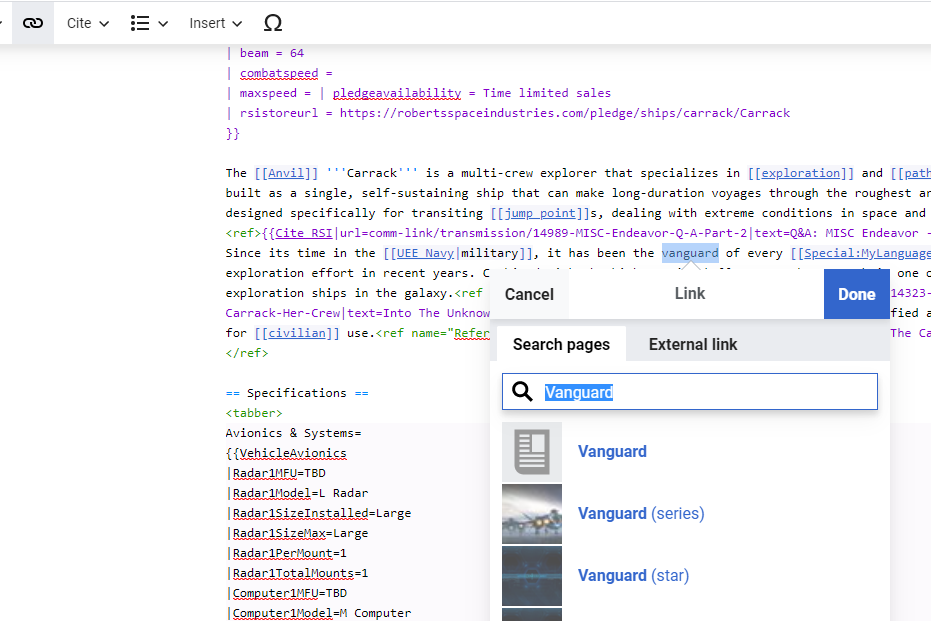
- If the text between [[ ]] does not match an existing page or redirect then a redlink will be added. Redlinks do not link to existing pages and instead direct a reader to create a new page with that name. Use the preview to check that any links you have added are working correctly.
Links should fit in with the rest of the sentence. You can achieve this by manipulating links like so:
- Adding extra letters next to your link without a space includes these letters in the link text; this can be used to add correct plurals e.g. [[Jump point]]s = Jump points; [[Torpedo]]es = Torpedoes.
- You can change the text displayed with a link without affecting where the link goes; this can be used when the name of the page you want to link to does not fit in with what you are writing, e.g. [[ArcCorp (planet)|ArcCorp]] = ArcCorp.
- Though all page names start with a capital letter, you do not have to capitalise the first letter of a linked page for the link to work. This can be useful for ensuring that correct capitalisation is used; as only proper nouns should be capitalised e.g. capitalising [[MicroTech]] is not necessary when written in text, changing to [[mircoTech]] still links correctly.
- If there are more capitalised words, excluding proper nouns and the first word of the page name, in the name of the page you wish to link then you will not be able to change the the words' capitalisation in this way. Instead you should change the text displayed with the link to use correct capitalisation e.g. to link to [[Runecrafter's Catalyst fragment]] you would make a link like this: [[P4-AR Ballistic Rifle|P4-AR ballistic rifle]].
- Sometimes content does not have a dedicated article and is instead included as a section of a larger page: you may wish to link directly to the relevant section. You can do this by adding # and the name of the relevant section's heading after the page name in a link. This text after # must match up to a section heading in order for the link to work correctly. For example if you wanted to link make a link about pickpocketing you would need to link to the section about religion in the Vanduul page, like this [[Vanduul#Religion]]. This is usually combined with changing the link text e.g. [[Vanduul#Religion|Vanduul religion]].
Images
- Link to your desired file like this: [[File:The file's name.png]]. You must use the correct file extension at the end of the image's name: most files on the wiki are in the .png format, however some are in another format such as .jpgs. E.g:
[[File:Gladius Ingame Missed.png]] adds this image:

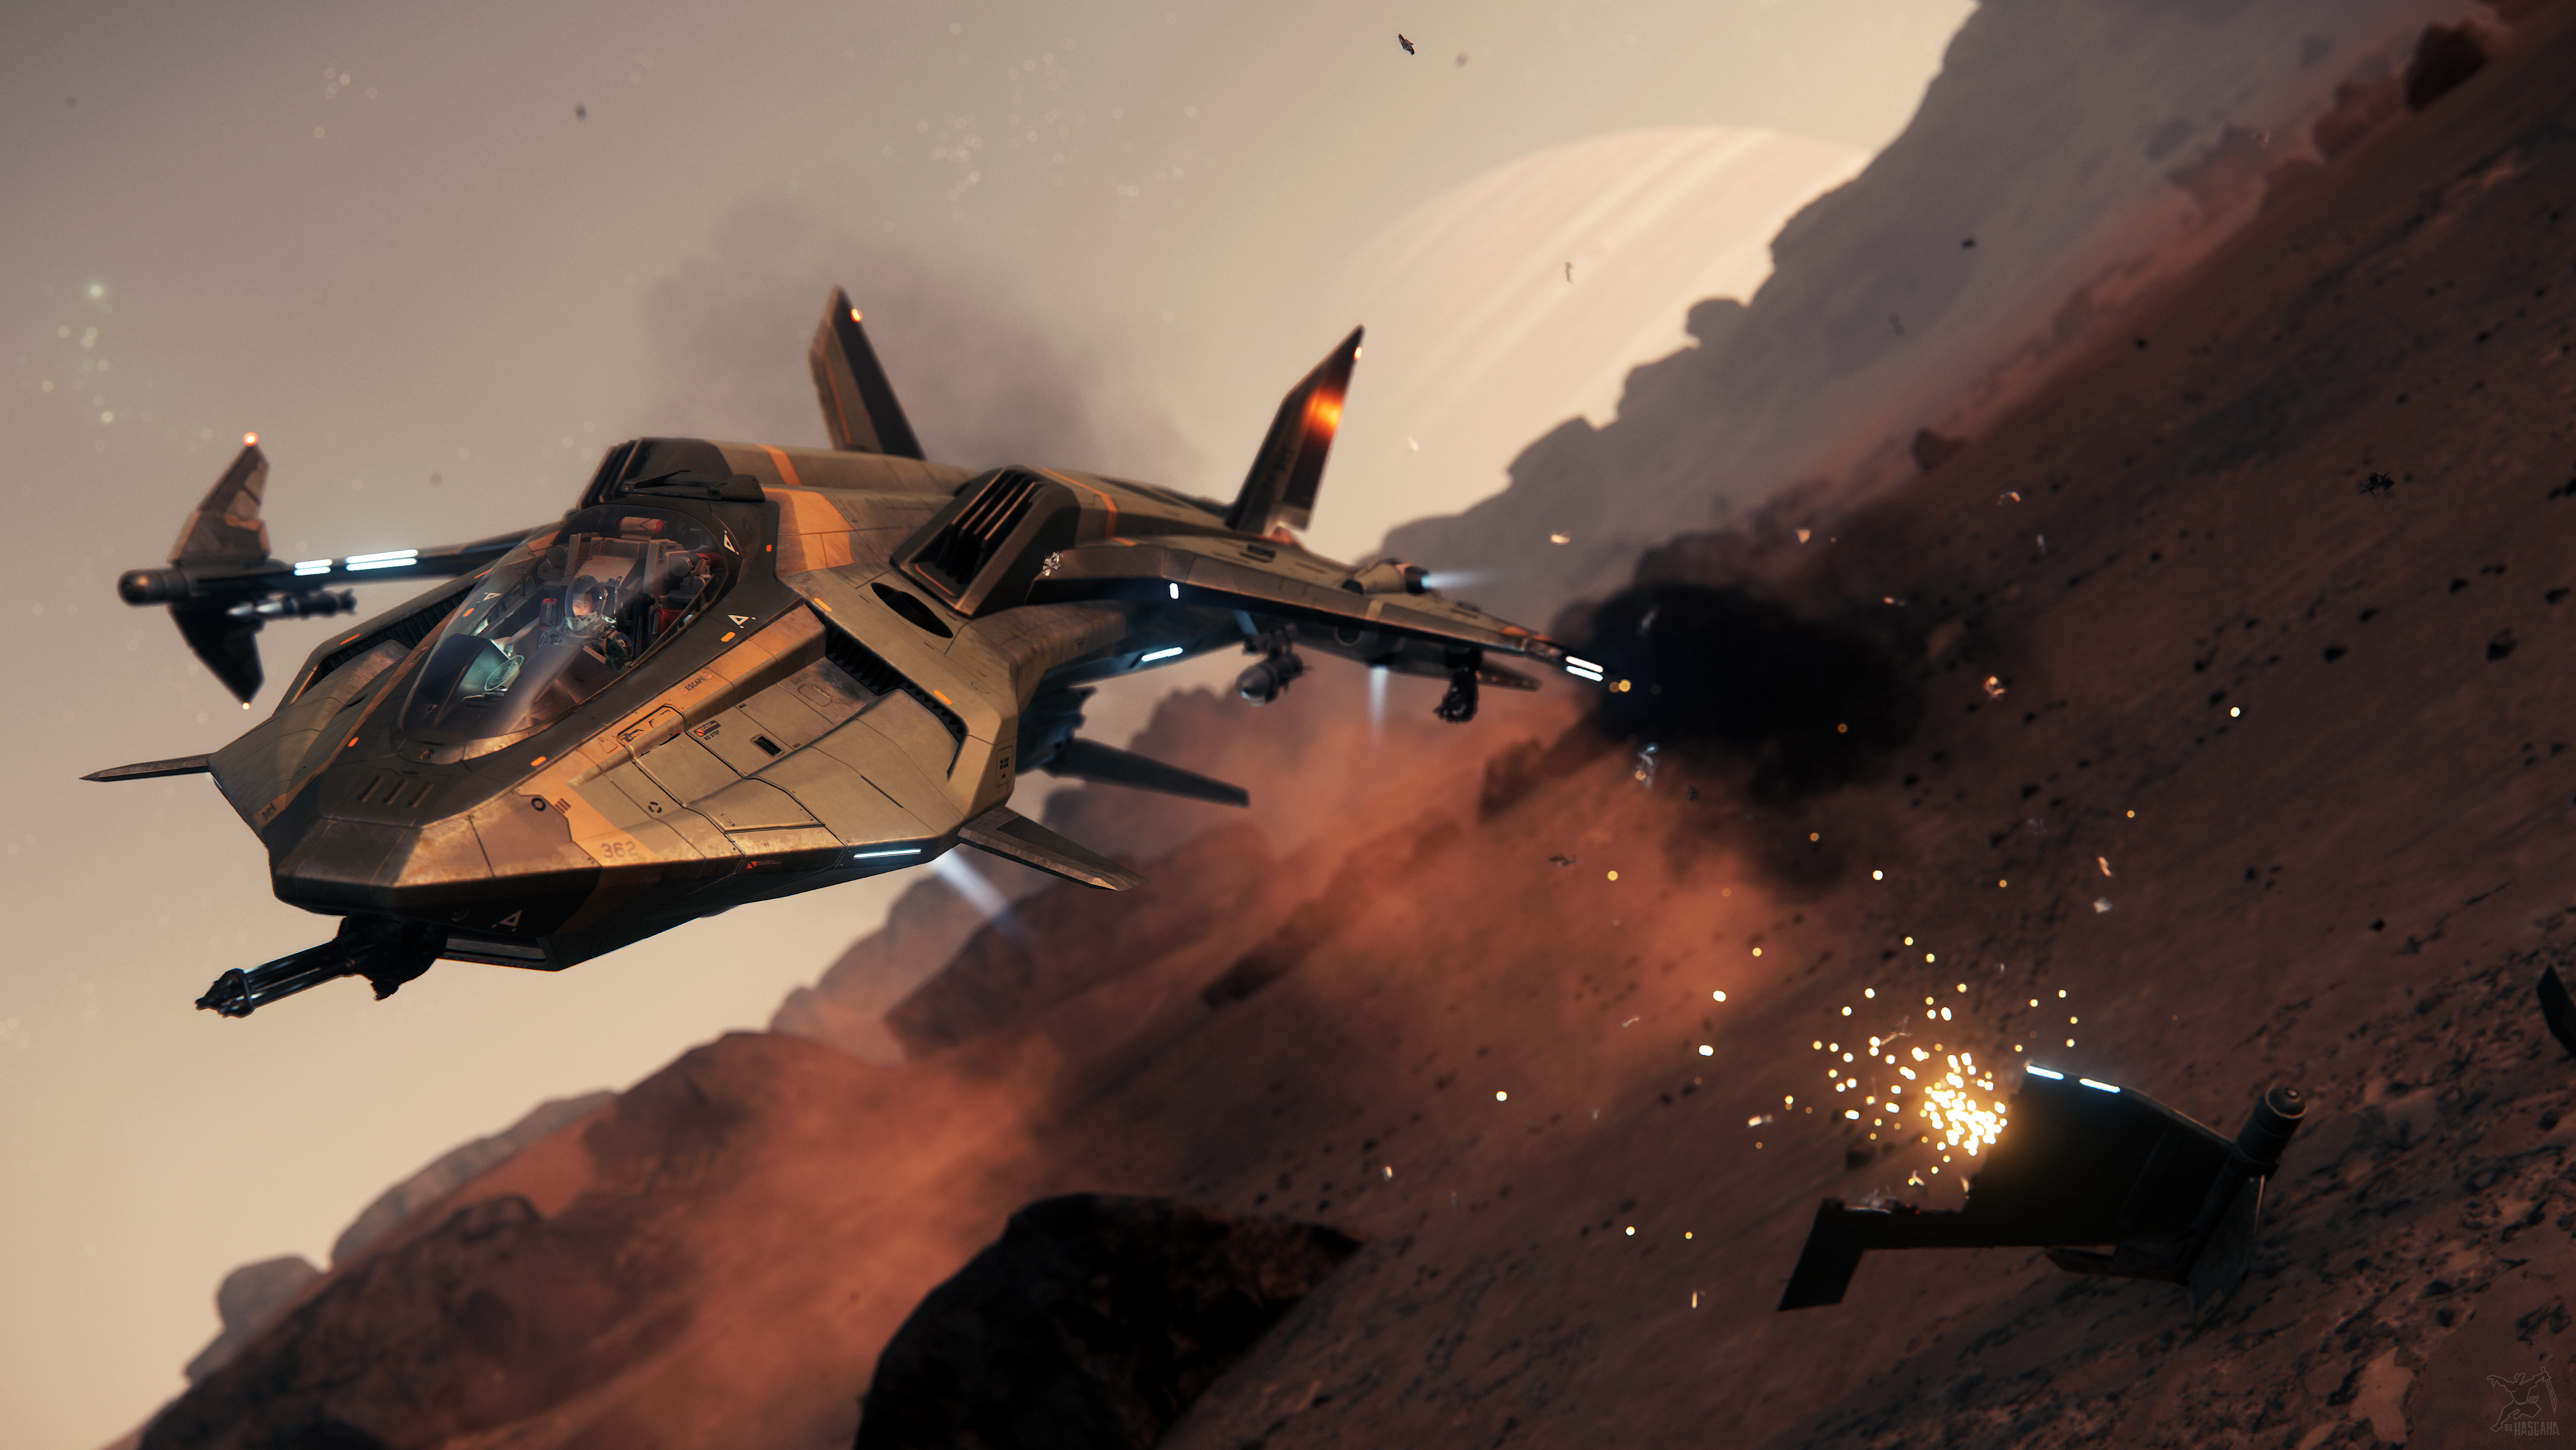
[[File:Buccaneer Ready for liftoff.png.jpg]] add this image:

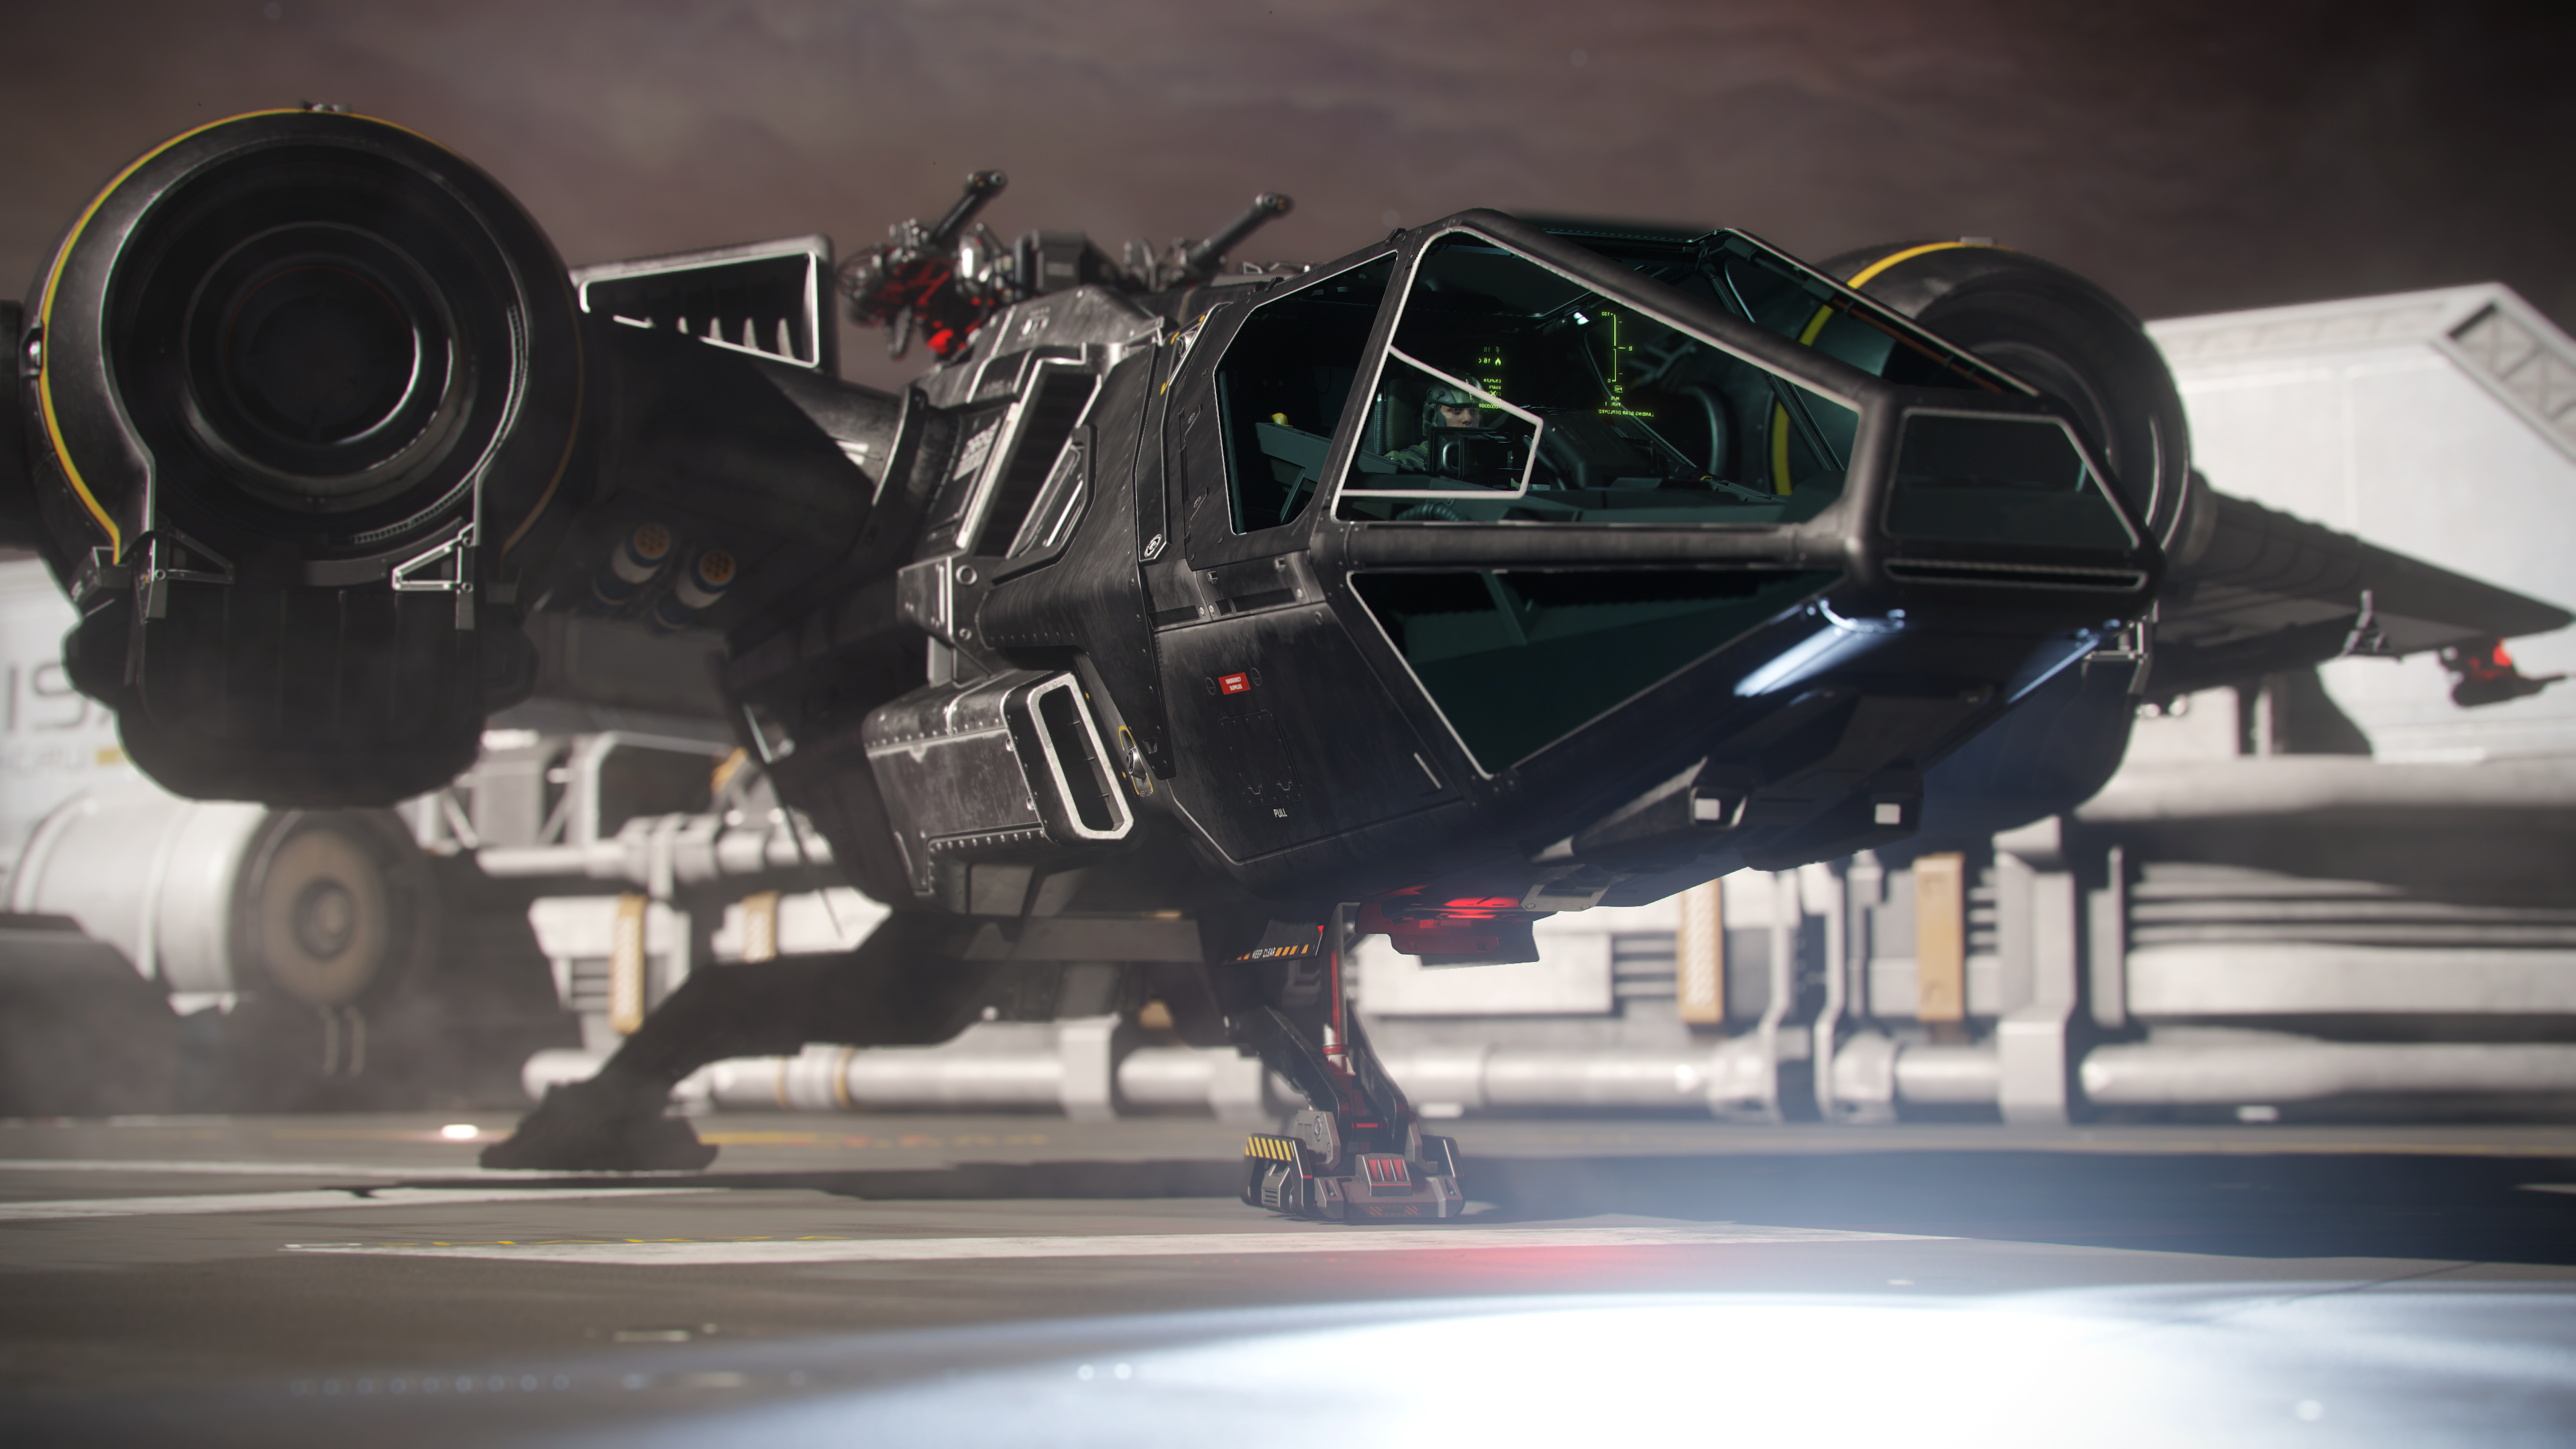
- You must use the exact file name (using the same spelling, capitalisation and spacing) for the link to work correctly.
- Often you will wish to specify the size and positioning of images.
- Adding |thumb|left |thumb|right or |thumb|center before the end of your link, after the image's name will put it in that position on a page, e.g. [[File:Gladius Ingame Missed.png|thumb|left]] will add the add the image on the left side of text.
- You can adjust the size of the image by adding ###px in the same place in the link: this limits the width of the image. E.g. [[File:Gladius Ingame Missed.png|thumb|center|50px]] or [[File:Gladius Ingame Missed.png|thumb|50px|center]] adds an image which is centred and has a width of 50 pixels:
- Alternatively you can insert media the same way as the visual mode. See this guide for more details.
Tables
Tables can be useful for displaying some kinds of information. A standard table can be added using the insert > table button. This adds the wikicode:
{| class="wikitable"
|+ Caption
! Header cell !! Header cell
|-
| Content cell || Content cell
|}
Giving a table with 3 columns with headings and 2 rows:
| header 1 | header 2 | header 3 |
|---|---|---|
| row 1, cell 1 | row 1, cell 2 | row 1, cell 3 |
| row 2, cell 1 | row 2, cell 2 | row 2, cell 3 |
You can also create your own table:
{| class="wikitable"
|-

|}
Creates the table
|- makes a new row | makes a new cell ! makes a bold heading
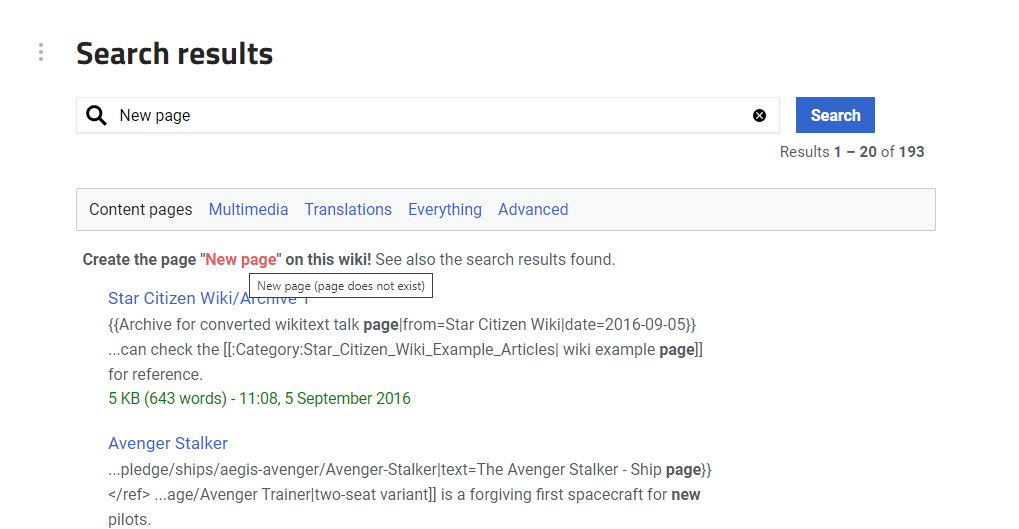
Making a new page
If you have searched for a page that does not exist you will be given the option to create it at the top of the search results. Before doing so make sure that you have used the correct spelling, spacing and capitalisation for the content you are making the page for to avoid making duplicate pages for the same content. If you are sure that no page exists, click on the red link to create the page.
Start adding any information that is known about the content. You must save the page after you have finished editing it before it is created.
You can then look to existing pages for similar content to see what formatting and advanced features are needed. You can copy and paste from existing pages and adapt to the page you have made.
